
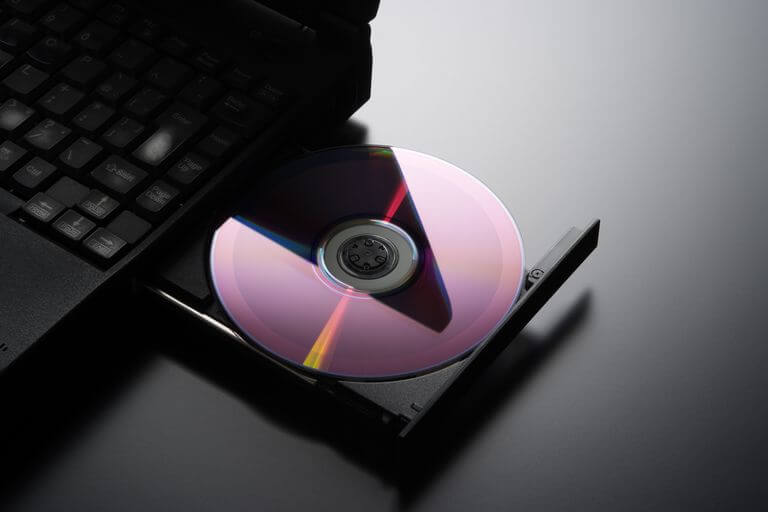
Blank DVD discs are much more affordable now and they are still a kind of great physical media to store videos as collectibles or for sharing. If you have recorded some videos such as wedding videos, family trip videos, or video courses, and want to save content on DVD, you can burn videos onto a playable DVD disc with clear DVD menu.
In this post, we will show how to burn DVD on Windows. You will need to download a DVD Creator for your Windows computer at first. This DVD Creator is able to import videos and pictures for burning video DVDs and photo slideshow DVDs, or import media files to burn data DVDs as long-term preservation. Straightforward interface, stable performance, and highly customizable DVD menu, making it the best in this area.
Download the Win version for your Windows 10/8/8.1/7/Vista/XP, and let’s begin to burn content from a computer onto a recordable DVD disc.
How to Burn Video or Image to a Playable DVD Disc on Windows
Step 1. Insert a Recordable DVD Disc to the Drive
Many computers have a DVD drive so insert a DVD disc to it. If your computer does not have a DVD drive built-in, you will need an external DVD drive or a Blu-ray drive. DVD Creator supports both DVD 5 (DVD-R, DVD+R, DVD-RW, DVD+RW) and DVD 9 (DVD+R DL, DVD-R DL) disc.
Step 2. Launch DVD Creator and click on “Create a DVD Video Disc”
Launch DVD creator and you will see a neat interface that tools are dividing in boxes. To burn videos, movies, or images onto a playable DVD disc, “Create a DVD Video Disc” is the tool you need. So click on it go to the next step.

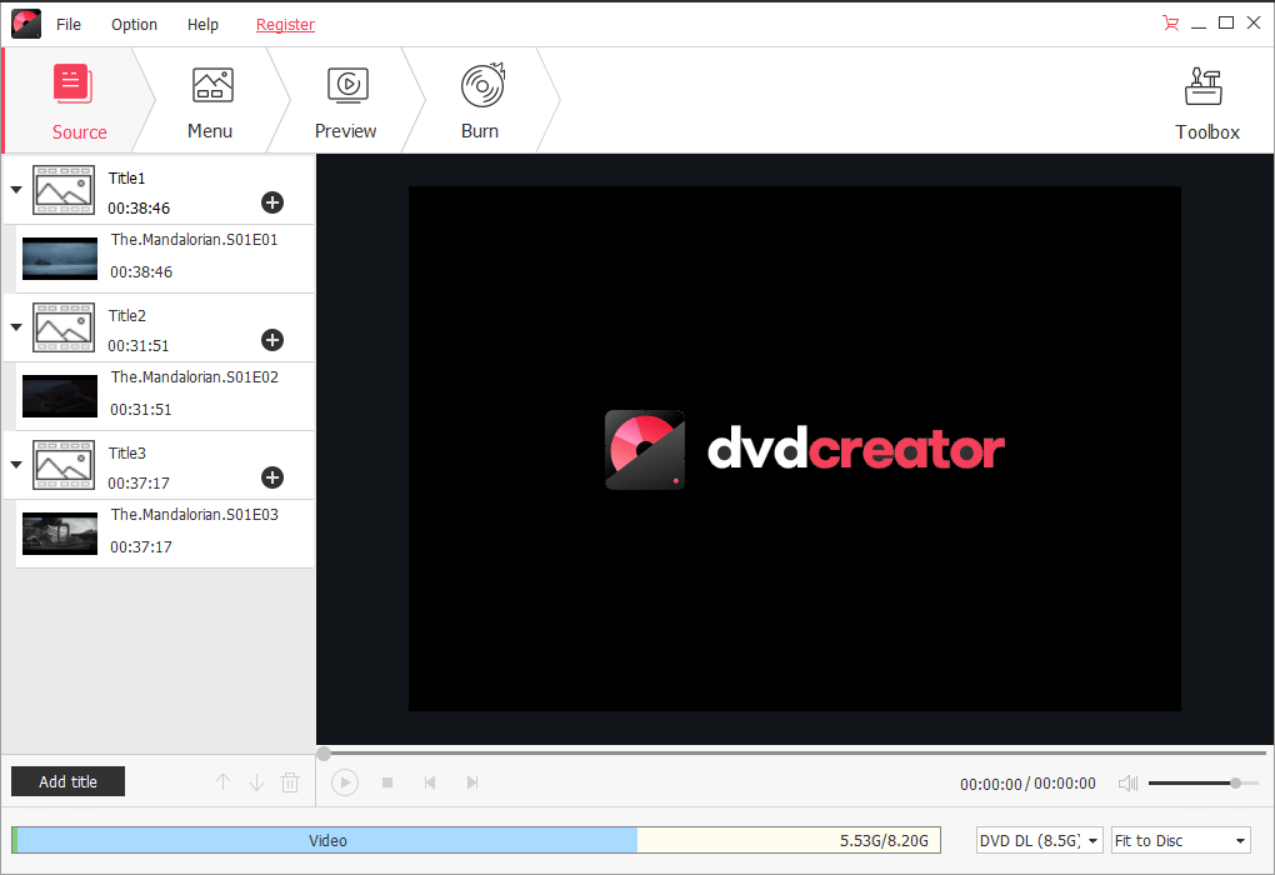
Step 3. Import Video or Image to the Program
Click the big “+” icon to add pictures or videos. We are going to burn a DVD disc, so it is notable that no matter what the resolution your original video is, the output video DVD resolution will be in 720*480 or 720*576 (according to the TV standard you choose).

Step 4. Customize the Menu Structure and Set Output Disc Type
Under “Source”, you can arrange your source videos according to the menu structure.
-Title1
-Chapter1
-Chapter2
…
-Title2
-Chapter1
…
-Title3
…
Then, set the output disc size. I have inserted a DVD 9 disc so I will change the target size from “DVD (4.7G)” to “DVD DL (8.5G)”.
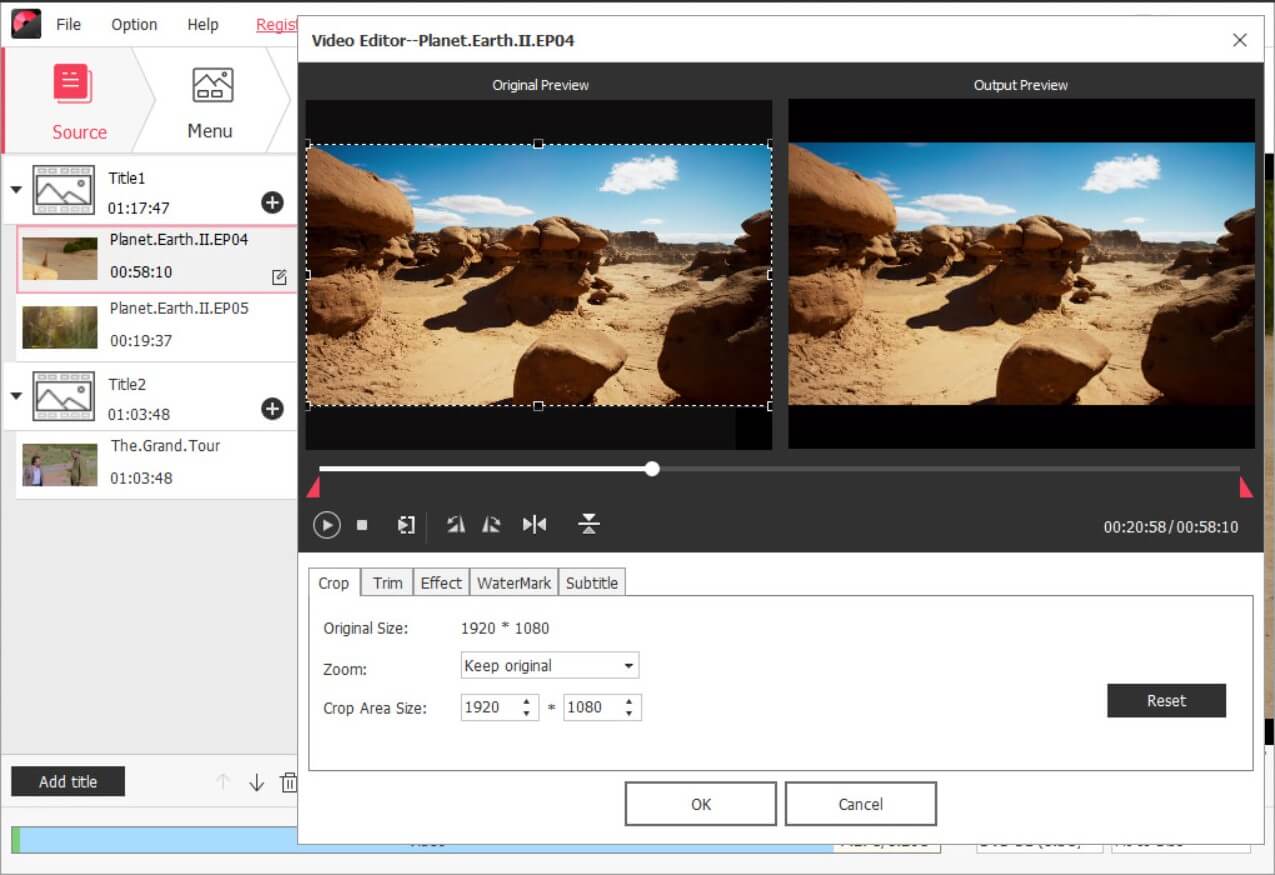
Step 5. Edit Video with the Video Editor
Click on a specific video and the edit icon appears. Bring up the video editing panel, where you can crop, trim, rotate, adjust effects, add an external subtitle, and more.
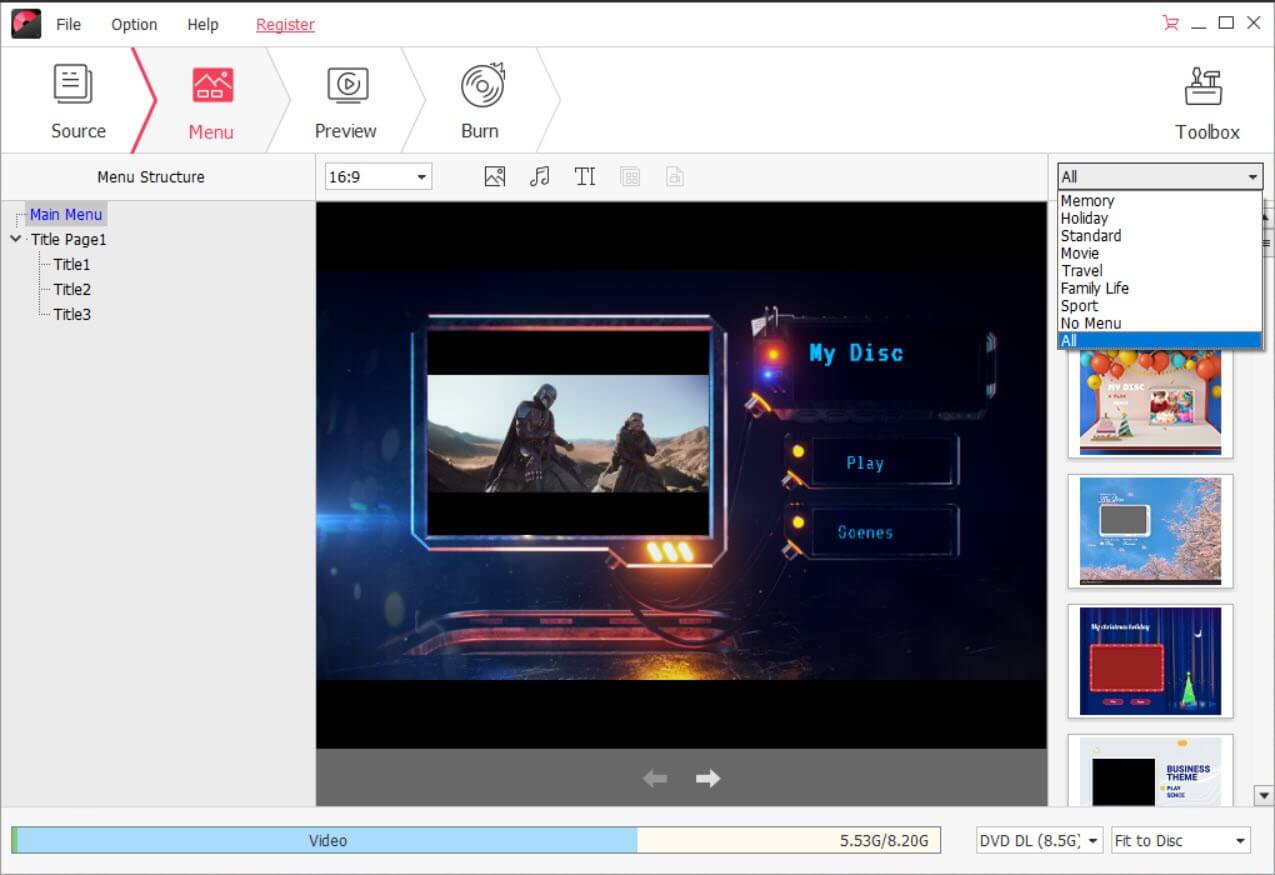
Step 6. Select a Template and Customize the DVD Menu
The next is “Menu”. Here you can apply a DVD template in one click. There are 86 templates for you to choose from. If you don’t like the templates in this DVD Creator, you can change the background image, background music, add/delete the text box, customize the thumbnail as you like.
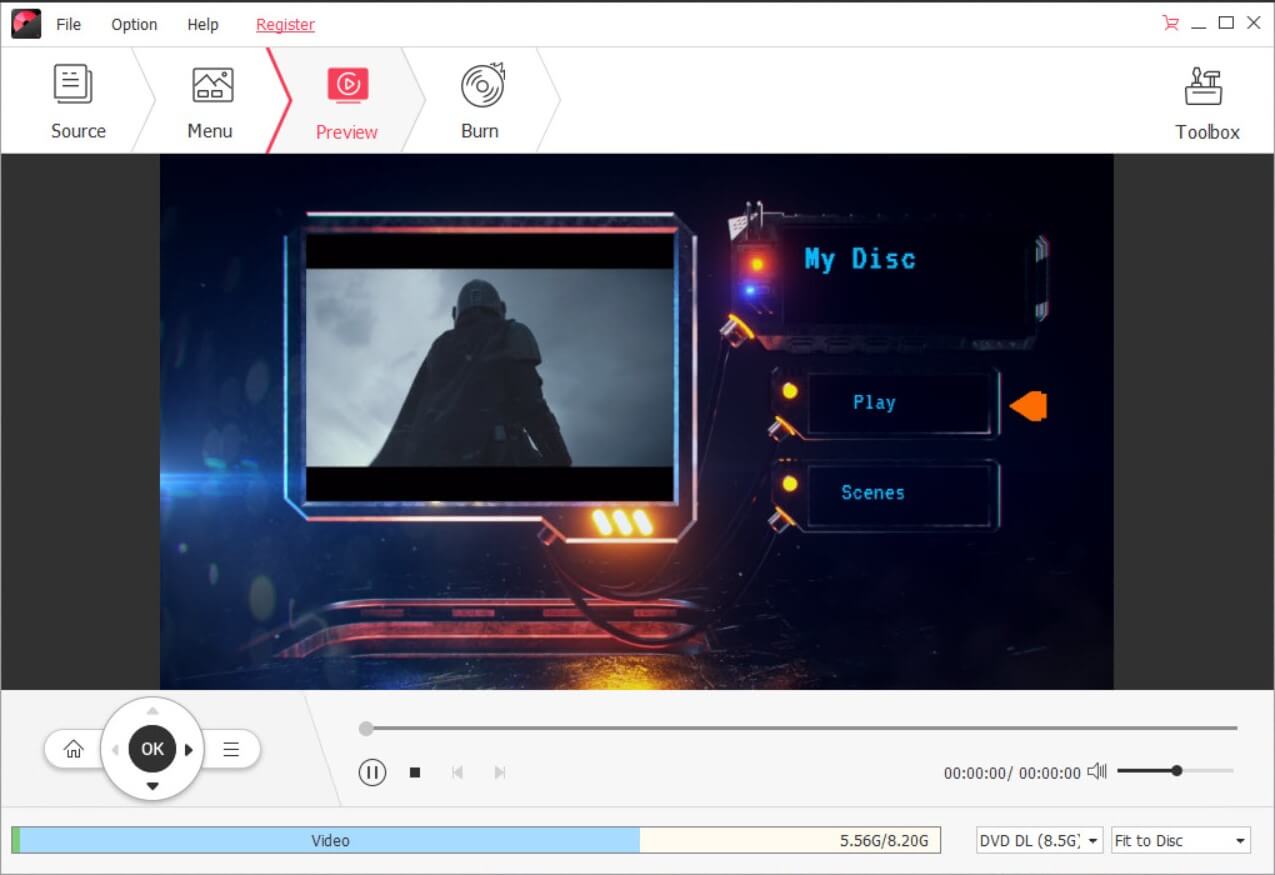
Step 7. Preview before Burning to the DVD
Under “Preview”, you can use your mouse to play with the menu. When you play the burned disc in the DVD player hardware/software, the menu will be the exact same as in the preview window. Except you will use the remote control or computer keyboard to control the menu.
Step 8. Start Burning to Recordable DVD Disc
DVD Creator allows to burn to disc, save as ISO, or save as DVD folder. After done, you can play the DVD disc on your TV or play it on your computer with PowerDVD/VLC media player.


Burn Video, Audio, and Image to a Data DVD Disc
Unlike burning a playable video DVD disc, burning a data disc is like copying files to a USB stick. DVD Creator allows you to import videos, audios, and images.
Step 1. Click on “Data Disc”
Insert a recordable disc into your computer DVD drive, launch the program and click on “Data Disc”.
Step 2. Add Videos/Pictures/Audios and Start to Burn DVD
After adding the media files, simply click on “Burn” and start burning files to data DVD disc.

This is how to burn a video DVD disc and data DVD disc on Windows 10/8/7/Vista/XP. The software used is the same. After burning a video DVD disc, you can play the disc on DVD player software on your Windows PC and DVD hardware player.