
In a digital world compiled with pictures, audios, videos, and all the other virtual information, it’s easy to be carried away and overwhelmed because more data also means a higher chance of losing if you are not careful or organized. So having a physical copy of your photos could be helpful, safe and meaningful as well. For example, if you have shot hundreds and even thousands of photos in the past period, you can definitely burn them on a DVD to watch on TV. And not limited to TV, you can also watch the burned disc with photos on your computer.
A recordable DVD disc has 4.7 GB of space. If that’s not enough for your images, you can pick a dual-layer DVD disc that has about 8.5 GB of storage space. Burning to more than one discs is also fine.
There’s one more thing to settle before we go on the actual Image-to-DVD transferring trip: Are you going to burn a Data DVD with images or a Slideshow DVD? Because they are different things. Data DVD stores the original photos, and we know for certain that Data DVDs can be read on computers. If your DVD player supports image formats such as JPG, JPEG, PNG, etc., then it should be able to play data discs with compatible image formats – on your big screen TV. Slideshow DVD is definitely playable on DVD players (and also the computer with DVD player software), but this comes a huge disadvantage – the images are transformed to one or several DVD videos, and have a resolution gap between the burned one (480P) and the original one. In short, Image Data DVD is mainly used for photo backup and Slideshow DVD is mainly used for playback on TV or prepared magnificently as a gift for your families and friends.
In today’s post, we are going to show how to burn images to Data DVD on Windows and macOS.
Burn Images to DVD on Windows 10, 8, 7, and macOS
With some blank DVDs in your hand and know what disc to burn in your mind, things become very simple. BlurayVid DVD Creator is a foolproof tool which can burn both Image Data DVD and Slideshow DVD, with an assured performance. The operation is uncomplicated at all. So let me show you! Below are the detailed steps to get you through the whole process.
Step 1. Install BlurayVid DVD Creator
Download the free trial here and install it on your Windows or Mac computer.
Free Download Free Download
Step 2. Insert a DVD
Insert a blank DVD to your optical disc drive that is connected with your computer.
Step 3. Select “Data Disc”
Launch BlurayVid DVD Creator. On its initial interface, you’ll need to select “Data Disc” (for burning images to Data DVD).

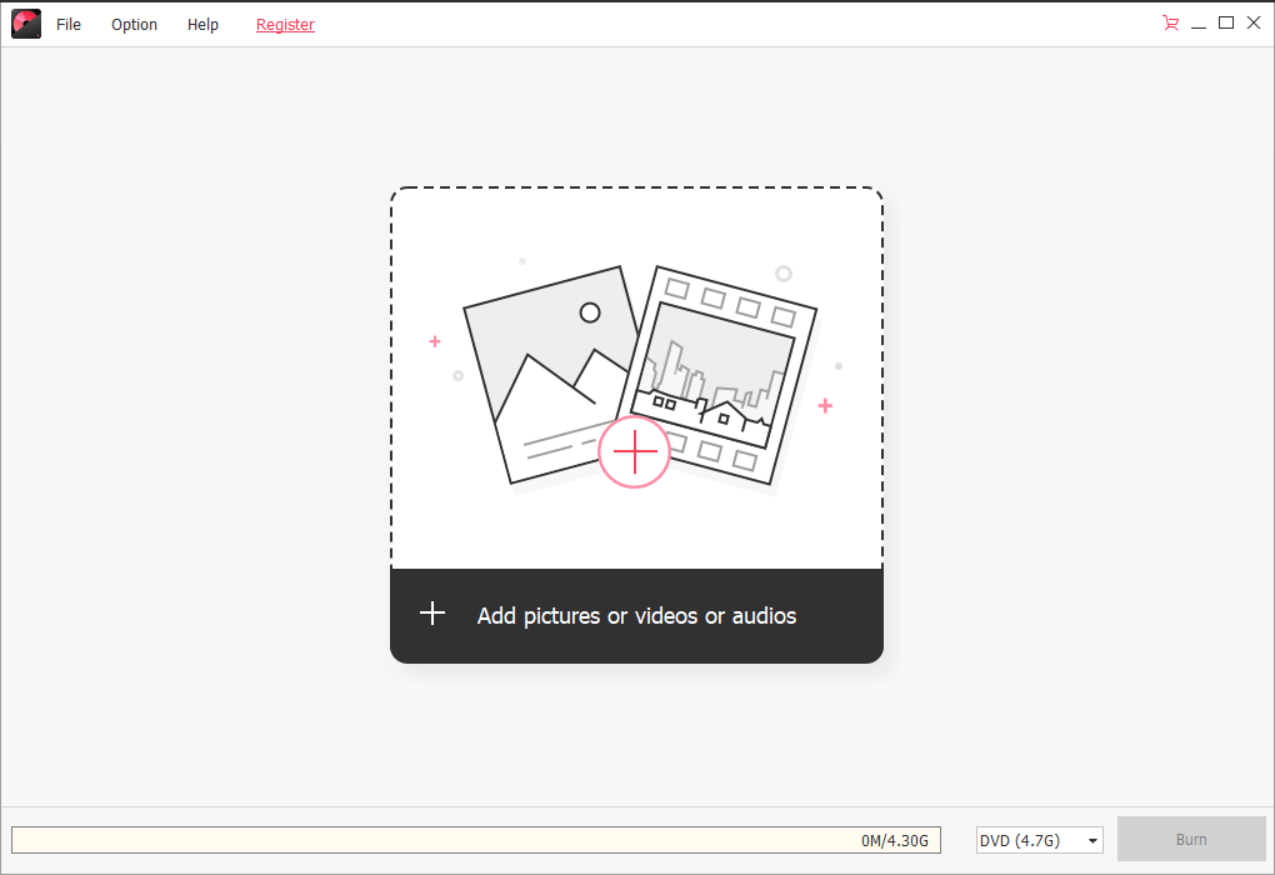
Step 4. Add Images
Click the + sign to add your photos in batch.
* This tool allows importing BMP, JPG, JPEG, PNG, GIF, TIF, TIFF image files *
Step 5. Click on “Burn”
When images are all imported, you can click on the Burn button to execute the burning process. When it’s complete, test the DVD on your computer to confirm it works well before putting away.

Conclusion
BlurayVid DVD Creator is an impressive tool for burning images to DVD. It also comes in useful features like Video DVD burning, Video Blu-ray burning, Audio CD burning, disc ripping, disc cloning, etc. Download and have a free trial – it won’t let you down.
Free Download Free Download